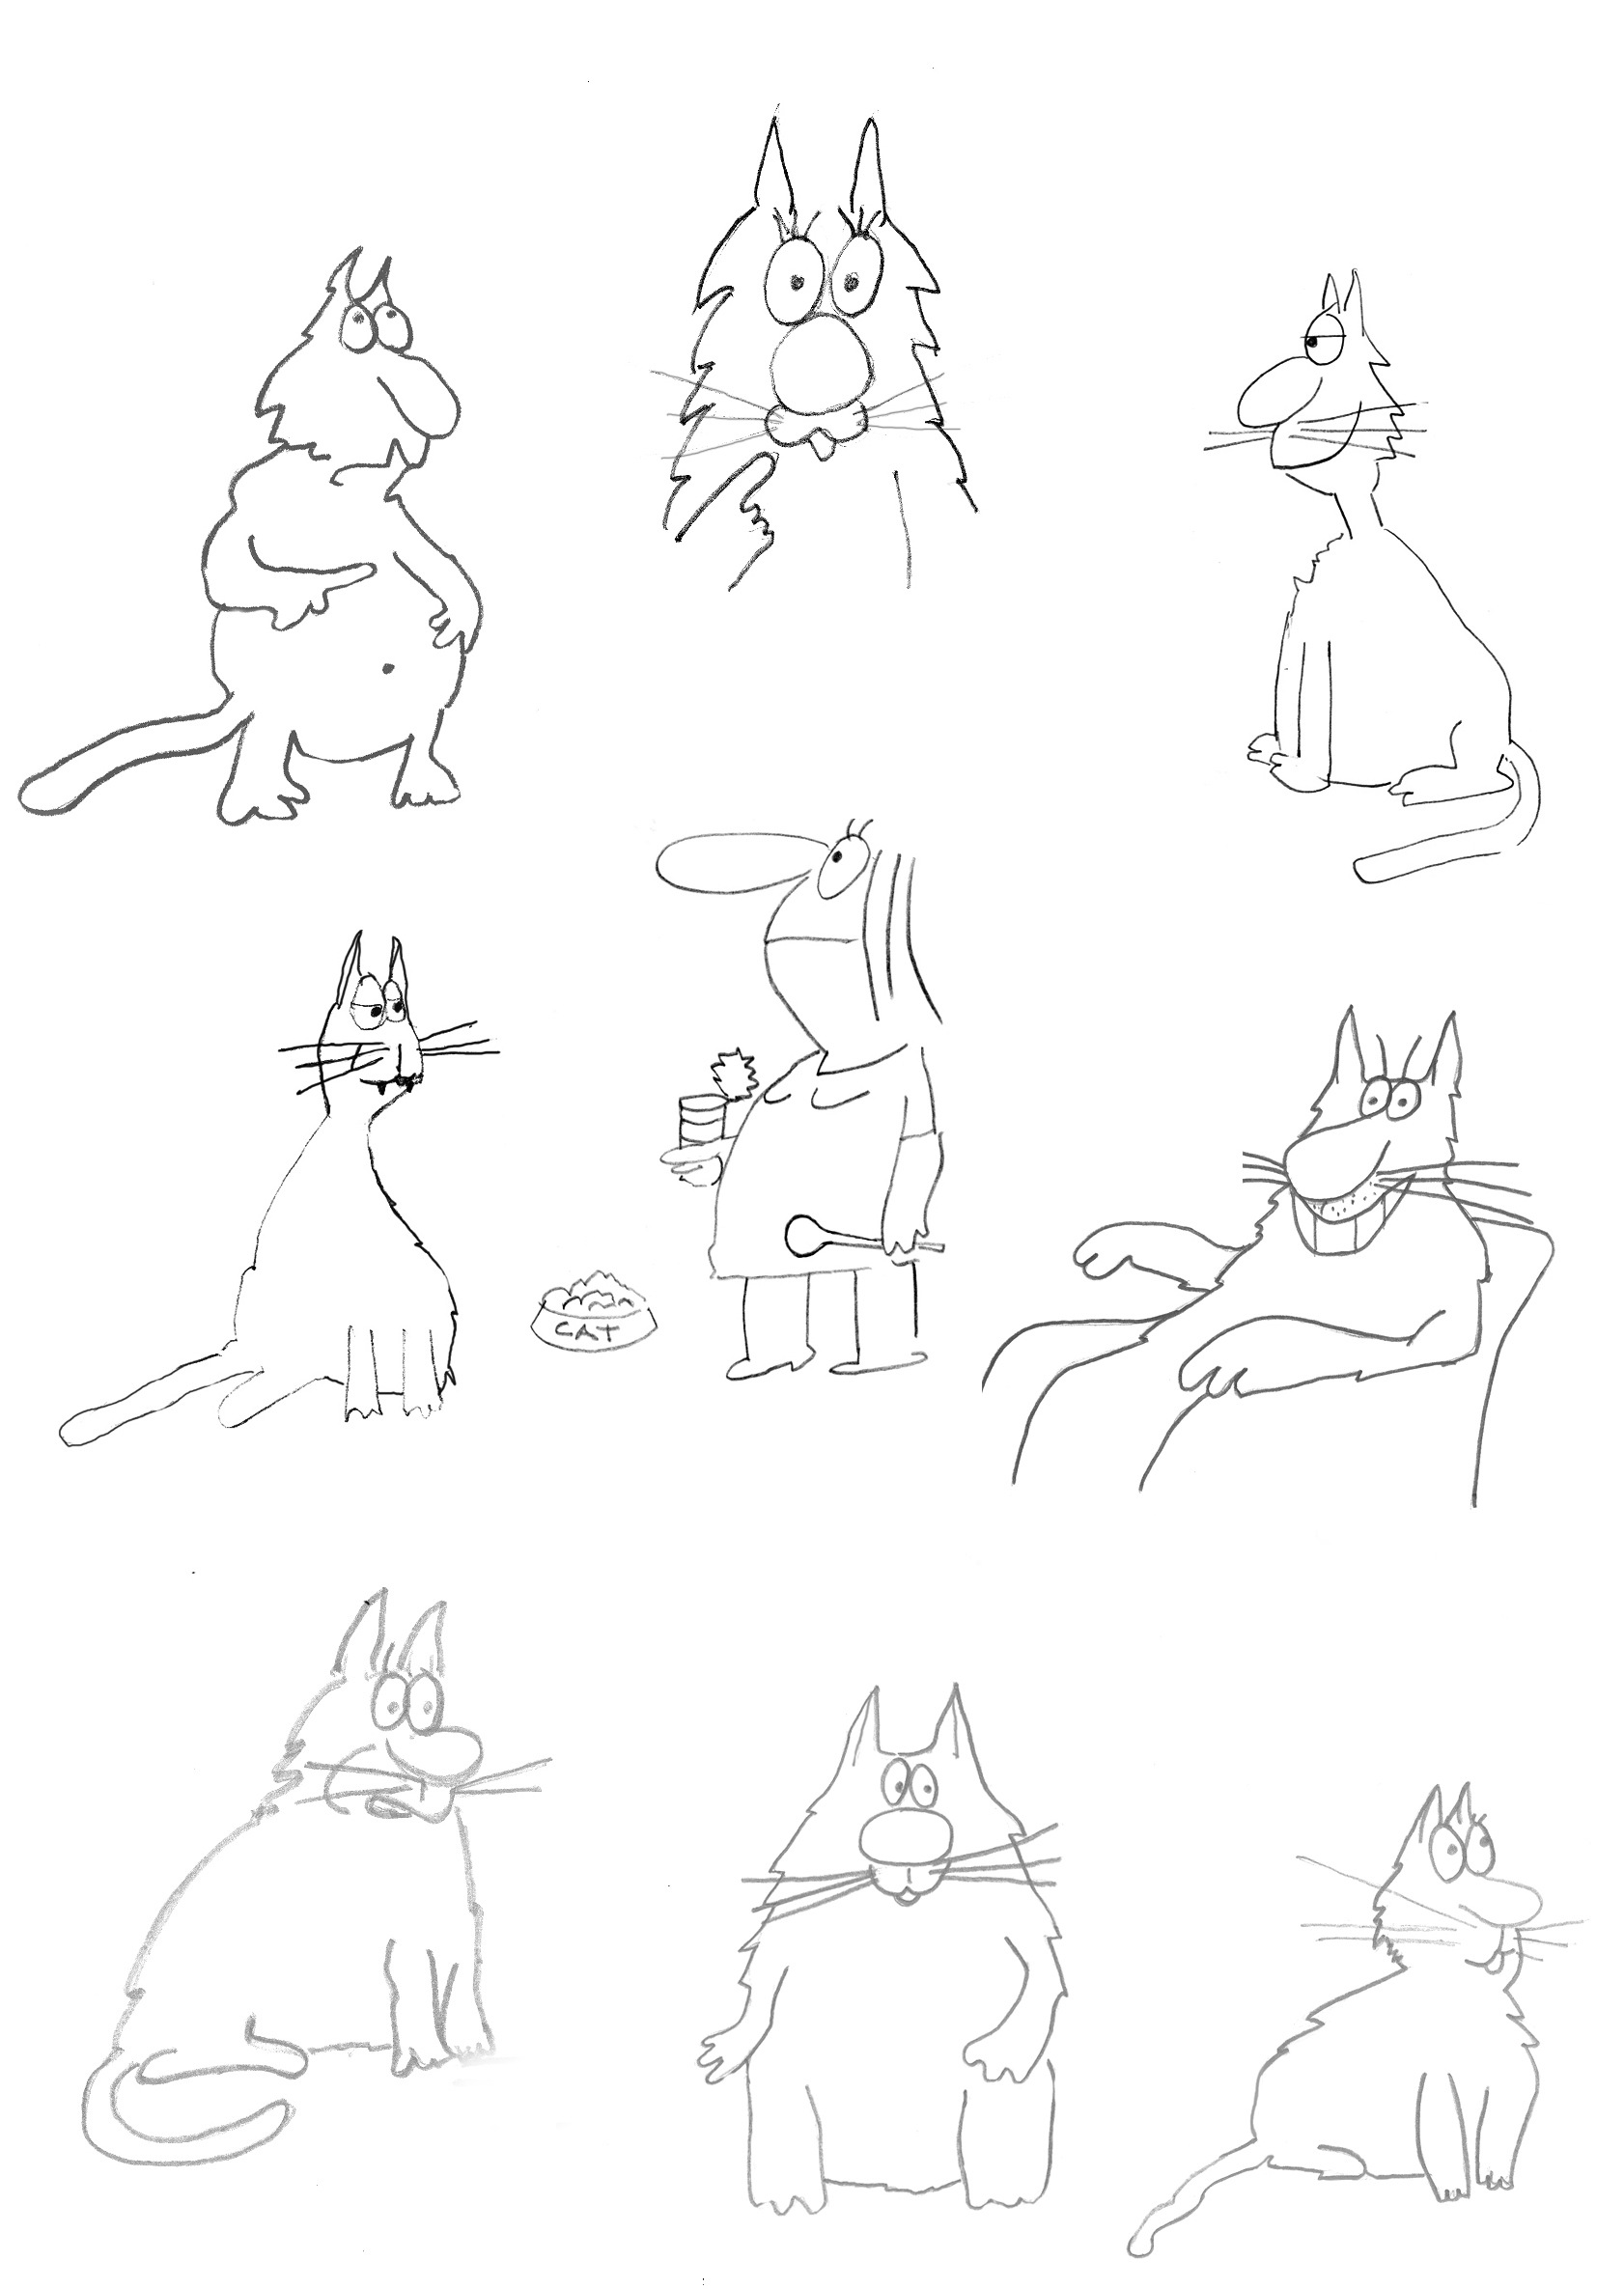

Inspired by the artwork of Gay Jolliffe
Several months ago, I was working on a sUAS project that involved some sensor integration. After spending several sleepless nights figuring out the right power distribution by trial and error, I figured that there must be an easier way. It was time to hit the books. After some research, I found that two decent introductory books on the subject are the “Make Electronics” series and ‘Electronic Components” by Charles Platt.”
I am still working through these books at present. Other than learning a lot on the subject and building some neat devices, I have also discovered that Mr. Platt is a prolific author; a true Renaissance man.
I perused some of his other titles on Amazon and I picked up “How to be a Happy Cat”. It’s a great family read especially if you have a cat and kids who will undoubtedly enjoy the satirical narrative and Gay Jolliffe’s illustrations.
Professing to be the “first and only self-help guide for cats,” the book answers many existential questions—from the point of view of a cat—that have boggled felines’ minds since the dawn of history. Here, a cat can find answers to problems, such as how to live more than nine lives and how to find lasting romance.
One of my favorite observations in the book is:
“There are millions of humans just waiting to pamper us with gourmet food, indoor sanitation, and professional care. It’s absurd not to take advantage of the situation.”
The Make Electronics books are great! The labs are well structured, and they take you from zero knowledge to decent proficiency on the subject while requiring hands-on work and learning by doing.
Another reason to go with these books is the coverage that you can find in YouTube and the author’s responsiveness to questions. When I ran into a problem with one of the experiments and just couldn’t figure out the solution, I posted a question the the book’s website. To my pleasant surprise, I got a detailed response from the author who provided me with some troubleshooting guidance.
So, in the spirit of sharing the knowledge, here are several tips and resources that I found useful if you are planning to work through the book:
Ingredients—Don’t try to assemble the supplies for the experiment manually. Instead, get a pre-packaged kit (e.g., Electronics Components Pack 1 and Electronics Components Pack 2).
Component Sources – If you do need to purchase replacement LEDs, transistors, or relays, get them on Amazon or Ebay. Most of the US retailers charge exorbitant prices for these components. For example, I paid $2.69 for a bag of 50 LED, which is the same price Radio Shack charges for a single one. Not a biggie, but disproportionate.
Testing Equipment and Tools – Get the best tools you can afford. Nothing is free in life, so don’t skimp on the price or quality of your multimeter, oscilloscope, signal generator, power supply, soldering station, etc. If you don’t know where to start, check out Dave Jons’s EEV Blog for product reviews
Specifically for experiments 14 and 15, here are several tips and resources that I found useful:
Experiment 14
The two capacitors used in the “Pulsing Glow” experiment should have their negative poles facing away from the LED. You can tell the negative poles by the location of the vertical white strip on the capacitor. Also, when inserting the LED into the female header, make sure that the negative LED leg (the shorter leg) is close to the black negative wire.

Experiment 15
When assembling the five transistors, pay attention to their type (i.e. BJT vs. PUT) and their orientation. The two transistors under the speaker are PUT 2N-6027, the remaining three BJTs are 2N-222A. Note the 180 degree difference in orientation for both types.

When preparing the project enclosure, use the following drill hole patterns. This template fits a 6” x 3” x 2” (15 mm x 7.5 mm) project enclosure box. To use it, print it out (make sure that the size does not change during printing), tape it on the enclosure cover, and mark the centers of each hole with an awl. Also, don’t pre-drill all holes on the cover. The sizes of the holes for the SPDT on/off switch and DPDT pushbutton switch (the 2 largest holes seen on the left side of the template) will be determined by the size of your specific components.

Leave your functioning breadboard design intact, and don’t dismantle it when transferring the circuit to the perfboard. This will require you to purchase some spare parts, but having a functional prototype that you can refer to during the transfer process and use to troubleshoot is invaluable.
When soldering the components, use =<0.5 mm wire size and a conical-wedged tip. This will help you maintain fine control over the size of the solder joint. I also found that setting my solder temperature to 750F allowed me to complete each joint in about 4 seconds.

When assembling the final components, temporarily attach them to their poles by bending their lead wires and using alligator clips. Make sure that the whole system works, including the power on, self test, and magnetic sensor functionality before you perform the final soldering.

One more note: if you have a cat, batten down the hatches! We found LEDs, wires, transistors, and capacitors all over the house. Apparently, our own “Happy Cat,” following the advice in the book, has been catching up on his circuit design as well.
© Copyright 2015 Yaacov Apelbaum All Rights Reserved.
So what do cats say?
Meow, Prrr, and Hisss!